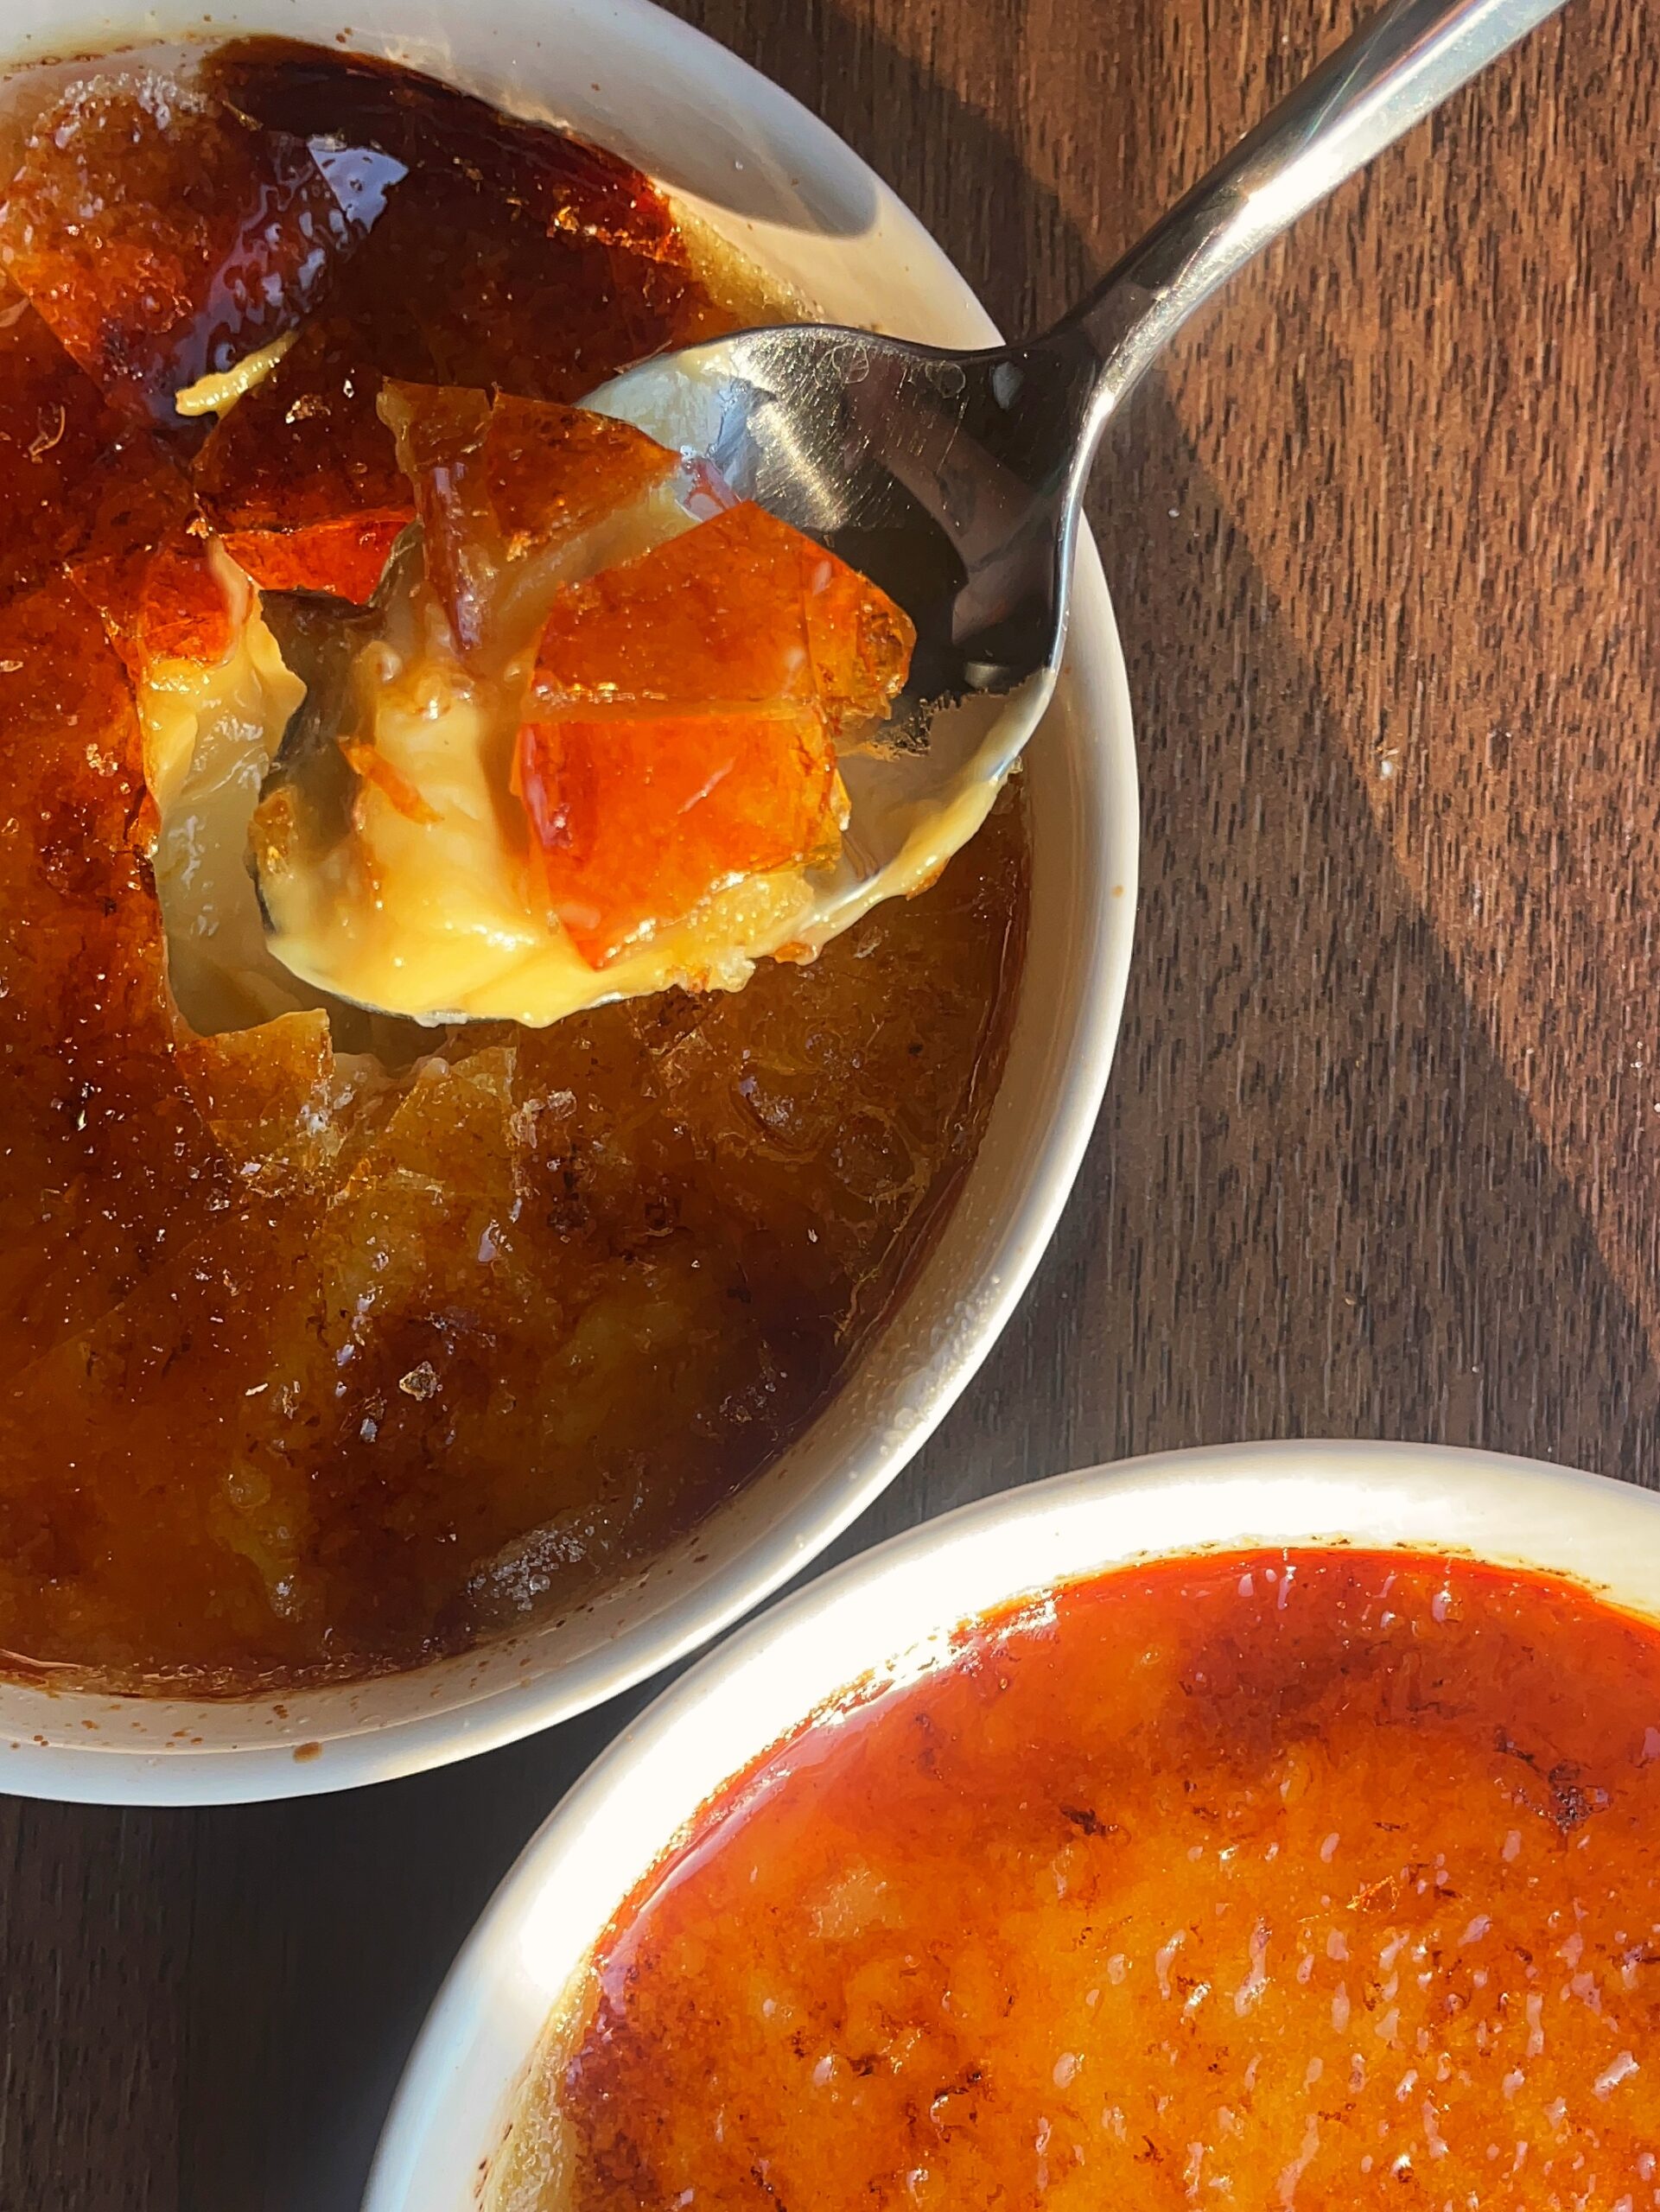
Pretzel and Espresso Creme Brûlée
While completing my apprenticeship I worked at a local restaurant called The Tusk (formerly the Tartan Tusk) and like many aspiring cooks I started in a garde manger/pastry role. That first summer I shucked so many oysters I got tennis elbow, made a ton of burger buns and torched countless creme brûlées. To this day if I was still working in a kitchen that is the position I would want to work. I always felt that the desserts, breads, salads and cold apps were a lot less chaotic than working on the line.
I was given a lot of freedom to experiment while working pastry with one stipulation, there always had to be a creme brûlée. With it’s super creamy rich custard, crispy slightly burnt sugar and so much versatility to change flavours it’s no wonder it’s a crowd favourite. Plus, who doesn’t love the novelty of smashing the sugar?
While creme brûlée is naturally gluten free this version is not, though you can absolutely substitute gluten free pretzels with no issue!
Watch Points
There are a few sticky spots here that will require a keen eye and some attention to detail.
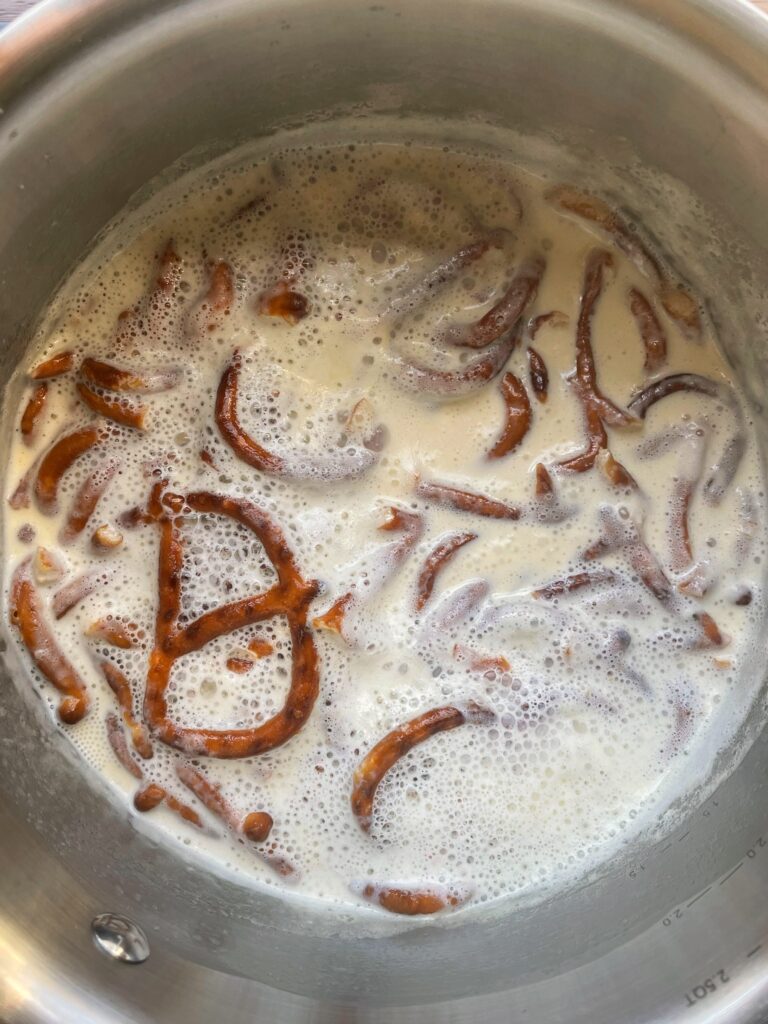
First, we aren’t going to bread up the pretzels too much. We don’t want too much of the start to be released and effect the final texture of the custard. We want the pretzels to be covered though so you may need to break/smoosh them slightly to make that happen.
We also want the cream to simmer not boil. If your cream boils it is not the end of the world, but it will very quickly boil over the edge of the pot leaving you with a giant dairy mess on your hands.
The eggs and sugar should not be mixed too early as the sugar will in essence start to cook the yolks making them chunky and effecting the final consistency of your custard.
Now we have gotten to the spookiest part of this whole recipe, baking the custard. You are going to need to find the sweet spot between overdone (where your custard will be sweet scrambled eggs) and underdone (which will leave you with a soupy brûlée). You are looking for a slight wobble in the centre of the surface when the ramekin is gently moved from side to side. If you are concerned that the liquid is going to break through the surface of the custard return to the oven for an additional 5 minutes.
Planning Ahead
As this recipe requires chilling it is an excellent option for when you are entertaining or looking to make something in advance!
- Custard can be mixed and refrigerated for up to three days baking.
- Creme Brûlées can be baked, cooled and tightly wrapped for up to three days before serving. Simply remove from the fridge, add sugar and torch.
Equipment
- 5″ Ceramic Ramekins
- 9″x13″ Metal Baking Pan (ceramic or glass will slow down the baking process and you will need to add additional time)
- Mixing Bowls
- Pot
- Whisk
- Ladle
- Sieve
- 5″ Shallow Ramekins
- Kitchen Torch
- Rubber Spatula
Pretzel and Espresso Creme Brûlée
Course: DessertDifficulty: Hard4
servingsRich and creamy custard infused with loads of pretzel flavour and a hint of espresso.
Ingredients
50g Thin Pretzels
310g 35% Cream
102g Egg Yolks (From approximately 6 large eggs)
0.5 tsp Espresso Powder
50g White Sugar + more for burning
Directions
- Preheat your oven to 325F. Place your ramekins into your baking pan and set aside. Separate your egg yolks saving the whites for a different use.
- Add pretzels and cream to a medium saucepan and heat over medium heat until you reach a simmer. Remove from the heat, strain using a sieve and discard the pretzels and then return the steeped cream to the pot.
- Whisk together sugar, espresso powder and egg yolks. Place the pot with cream back over medium heat until it is just at a simmer and then add to the egg mixture one ladle at a time whisking thoroughly after each addition.
- Pass the custard through the sieve and then divide equally between each ramekin.
- Add hot water from the tap into your pan until the water reaches halfway up the ramekins then carefully transfer the dish to the oven and bake for 40-45 minutes until they wobble only slightly when the ramekins are jiggled.
- When the creme brûlées are done carefully remove from the water bath, let cool slightly on the counter and then transfer to the fridge for 3 hours minimum.
- When you are ready to serve add 1 tbsp of sugar to the top of each custard and shake slightly to spread the sugar evenly across the surface. Using a kitchen torch carefully melt the sugar or place on a sheet pan under the broiler for 3-5 minutes. Allow the surface to cool before serving.
Notes
- If you choose to use a difference size ramekin you may need to adjust the cook time. I would not recommend using one that is too deep as it will not cook evenly.
- If you chill your custard and bake it at a later date you will need to add an additional 5-7 minutes to the bake time.

